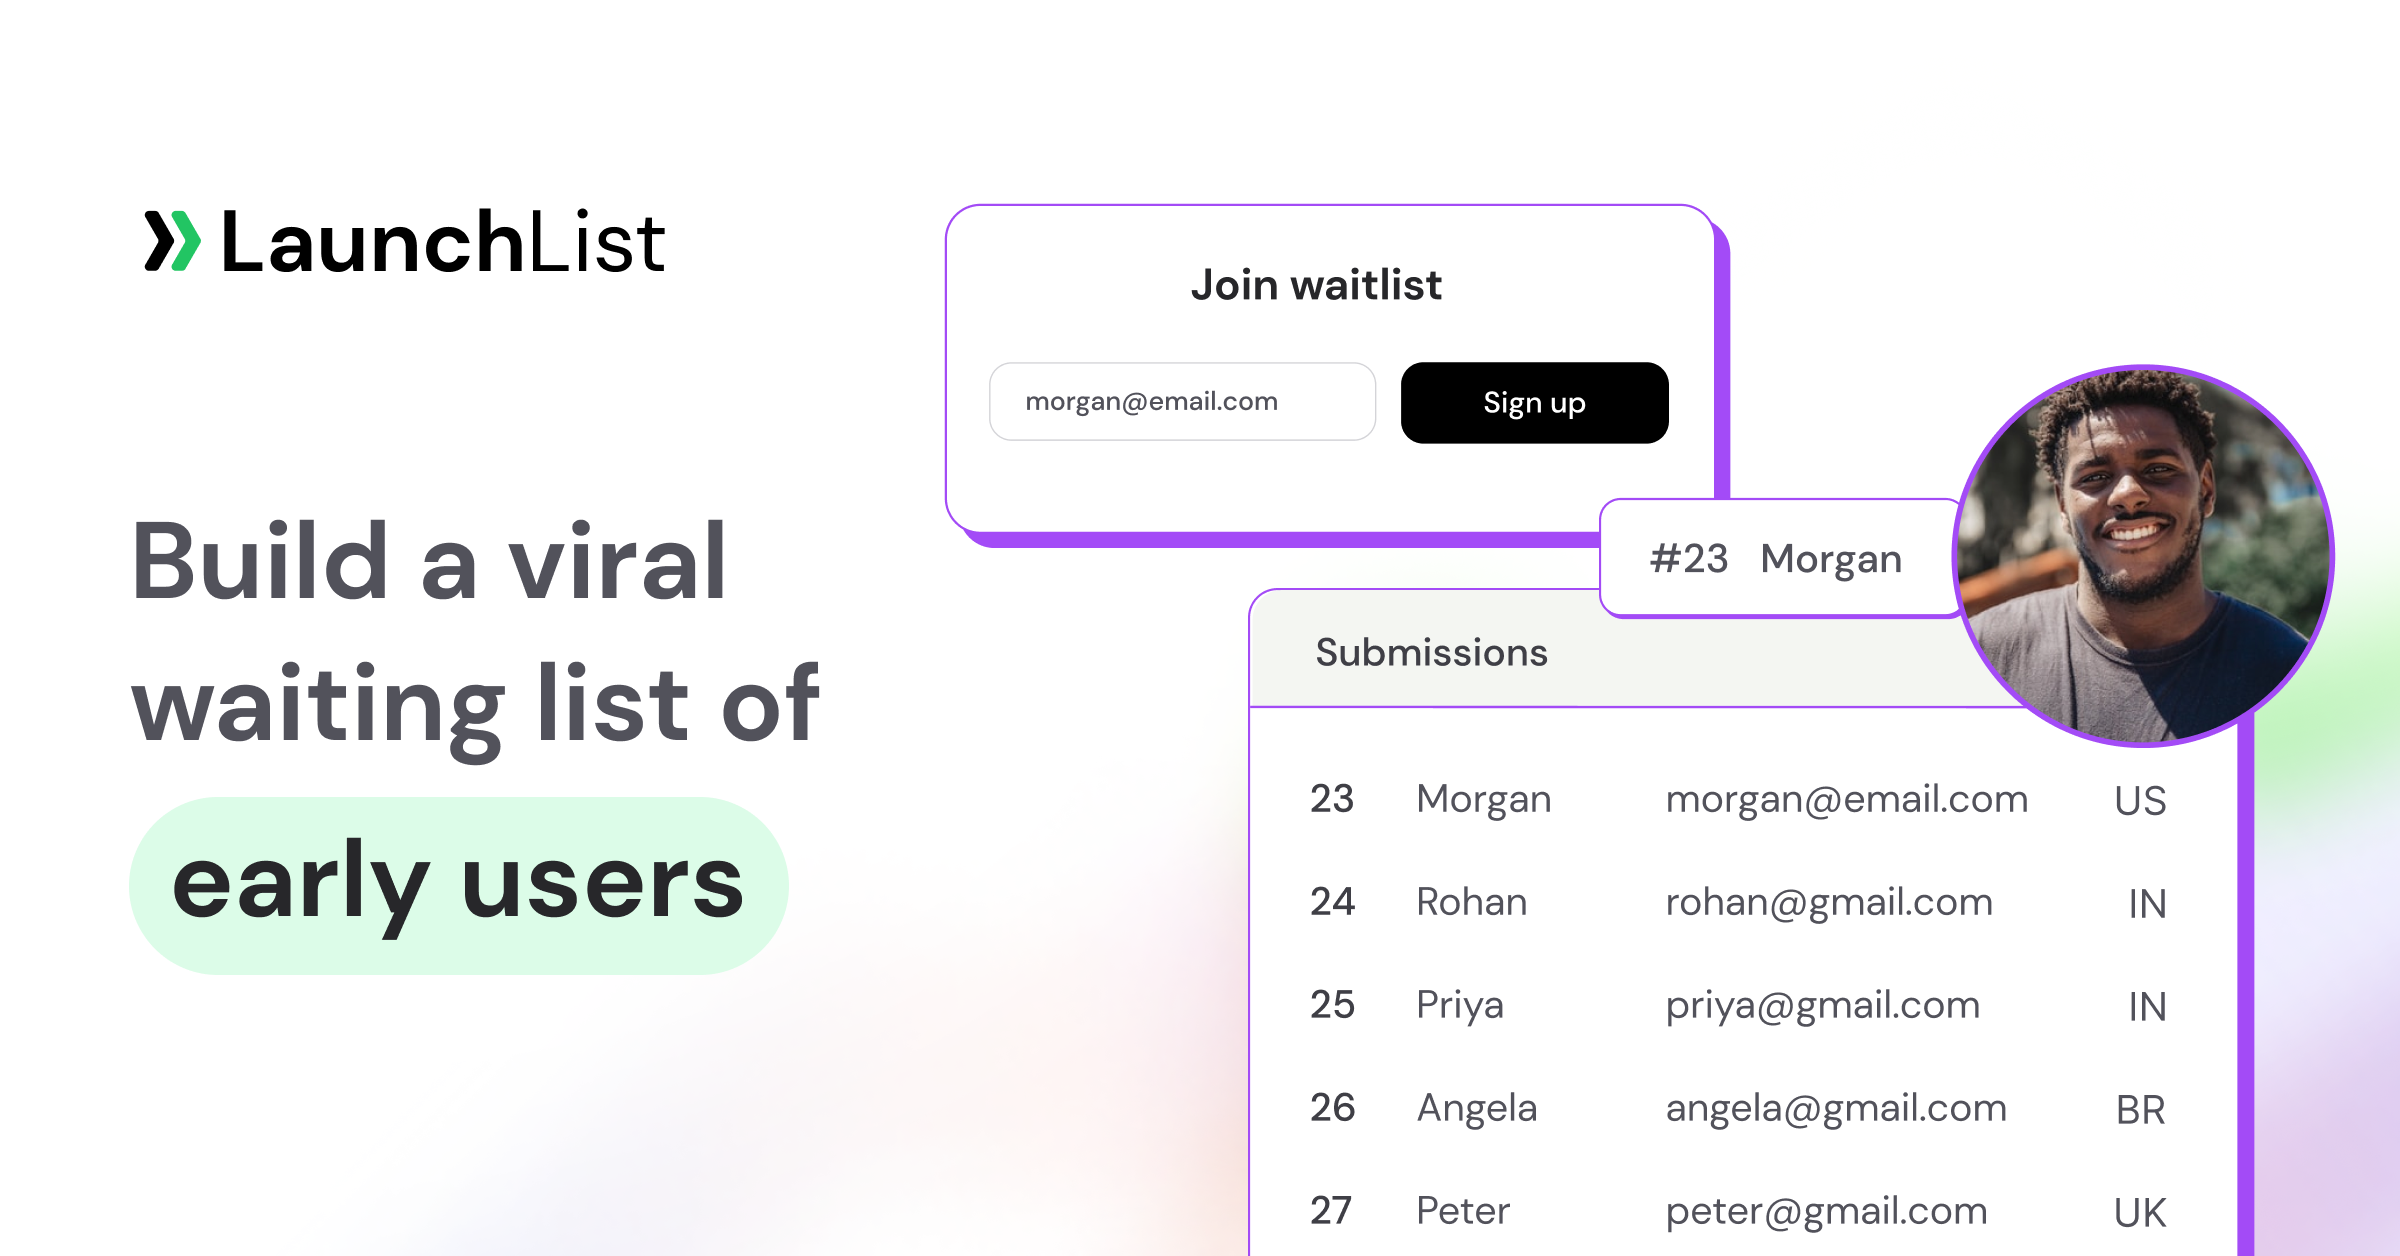
TL;DR: You can create a waitlist landing page in under 15 minutes. The build is six steps: (1) decide where the page lives: a hosted launch page or a form embedded on your own site, (2) write an outcome-driven headline, (3) add one above-the-fold signup form, (4) tune the referral loop that lets signups move up the queue, (5) add honest social proof, and (6) set up the success page and confirmation email. The referral loop in step 4 is what separates a page that collects emails from one that compounds. Below is the exact sequence on LaunchList, pre-launch waitlist software that is free for 100 contacts (the steps translate to any tool), plus a free copy-paste template and swipeable headline formulas. One rule to know up front: a page on a launchlist.page address is never indexed by search engines, so connect your own domain (the Collect plan, $9 a month) if you want it found on Google.
A waitlist landing page is the single highest-leverage asset you can build before launch. It validates demand, pre-loads your launch day with an engaged audience, and, done right, grows itself through referrals. If you want the why and the definition first, read What is a waitlist landing page?. This guide is the how.
What you'll need before you start
You don't need a designer, a developer, or a finished product. You need:
- A one-line promise. What does your product do, and for whom? If you can't say it in a sentence, the page won't convert. Nail this first.
- A place for the form to live. Either a hosted page (no website required) or an existing site you can paste a snippet into. Step 1 covers both.
- A waitlist tool that handles referrals. A plain email field on a static page captures addresses but can't do position tracking, share links, or a leaderboard: the mechanics that make a waitlist grow. This guide uses LaunchList, pre-launch waitlist software for founders; the steps translate to any tool with the same features.
That's it. No launch date required: "coming soon" is enough to start.
The anatomy of a waitlist landing page
Before the steps, here's the whole page on one screen. Every high-converting waitlist landing page is built from these six blocks stacked in this order:
Blocks 1–5 live on the page itself. Block 6, the success page, is the one most first-timers skip, and it's where a waitlist stops being a static form and starts compounding. We'll build all six.
How to create a waitlist landing page in 6 steps
Step 1: Decide where the page lives
You have two options, and this choice shapes everything downstream: your SEO footprint, how fast you can iterate, and how much design control you get. We've written a full breakdown in Hosted page vs embedded widget, but here's the short version.
Either way, start by signing up free (no card; the Free plan holds 100 contacts). Signing up creates your project, a waitlist signup form and a launch page already wired together, so you're editing from the first minute rather than setting up.
Option A: Hosted page (no website required). Every LaunchList project comes with a hosted launch page at a public URL. Open Pages, then Edit page, and you're looking at a working one-screen page with your logo, your project's name, one line and the signup form. From there you build with finished sections (hero, benefits, steps, quotes, pricing, questions, countdown, plus a live signup counter, the referral leaderboard and reward milestones that read your own data) and set the look once on the Design tab: one of eight styles, your accent color, your fonts and corners. If you'd rather not start from that page, Templates at the top of the editor swaps in one of six starting pages (SaaS beta, Mobile app, AI tool, Event or course, Pre-order, One screen), or lets you describe your product in a sentence or two so the built-in AI writes the page for you to edit. Your previous draft is kept, so you can restore it. Press Publish and the page goes live at your-slug.launchlist.page. No code, no hosting. Pick this if you don't have a site yet, or you want the fastest possible path.
What you're working with in the editor:
| Part of the editor | What it gives you |
|---|---|
| Add block | 19 block types. Page blocks: nav, hero, logos, benefits, steps, numbers, quotes, questions, pricing, story, media (image, video or gallery), countdown, call to action, footer. LaunchList data blocks: signup form, live signup counter, referral leaderboard, reward milestones, latest updates |
| Design tab | 8 style presets (Studio, Midnight, Editorial, Blueprint, Poster, Calm, Aurora, Luxe), an accent color, 14 designed font pairings or your own heading and body pair from 23 fonts, and corners (sharp, soft, round, pill) |
| Templates | 6 starting pages (SaaS beta, Mobile app, AI tool, Event or course, Pre-order, One screen) or blank; "Restore previous draft" brings your old page back |
| Properties | Per-block settings, including a product shot shown in a browser window, a phone or as a plain photo, and YouTube video embeds |
| Layers and canvas | Drag blocks to reorder, a desktop/phone toggle, full undo and redo, autosave |
| The box under the canvas | "Ask for a change" in plain words; each AI edit is one undoable step |
| Publish panel | Your page's address, a list of what changed since the last publish, a signed preview link for feedback, and Unpublish |
The AI ("Write a page from one sentence" on the start screen, or "Have AI write a template for my product" from a template preview) composes the style, font pairing, block order and words with the signup form already wired. It's free on every plan during the beta, and it never invents customers, quotes, numbers or prices that weren't in your description, which keeps step 5 honest by default.
Two things to know about the hosted page. Your own domain (say launch.yourproduct.com, with HTTPS issued automatically) starts on the Collect plan, from $9 a month: 1 domain on the Collect plan, 3 on the Launch plan, unlimited on the Grow plan, connected under Embed & API → Hosted page → Custom domain. Your status page and confirm and unsubscribe pages answer on it too. And while pages are server-rendered, only a page on your own domain on a paid plan can be indexed by search engines; the launchlist.page address stays live and shareable and asks search engines not to index it. If organic search matters to you, plan for your own domain.
Option B: Embed on your own site. Keep your domain and design, and drop the form wherever you want it. Visitors never leave your site. It works on Webflow, WordPress, Squarespace, Framer, Carrd, Shopify and any site that lets you add custom HTML. Pick this if you already have a landing page or brand site and want the waitlist to live on your own URL.
For the embed, open Embed & API → Your website, choose what your site is built with (there are guides for Carrd, Framer, Webflow, WordPress, Squarespace, Shopify, React and plain HTML), and copy the Inline snippet. A popup button and an "enhance your own form" option sit on the same screen. It's two lines: the element that marks where the form goes, and the loader script.
<!-- frm_8Kd2Qm4Rp9 is an example ID; the copy button inserts your real one -->
<div data-launchlist-form="frm_8Kd2Qm4Rp9"></div>
<script src="https://embed.getlaunchlist.com/v1/embed.js" async></script>
The script only needs to be on the page once, however many forms you place; the <div> can repeat. The form renders inside a shadow root, so your site's CSS can't break it, and it takes its colors, font and corners from your Brand settings in LaunchList. Change a field later and every embed updates itself, with nothing to re-paste.
That's the entire technical setup. Platform-specific walkthroughs: Webflow, WordPress, Squarespace, or every way to add LaunchList to a site in the docs. Everything below applies to both options: it's about what goes on the page.
Step 2: Write an outcome-driven headline
The headline is 80% of your conversion rate. Visitors decide in about two seconds whether to keep reading, and they decide on the headline alone. Name the specific outcome and the specific audience, not the category, not the vision.
- ❌ "The future of email" → vague, says nothing
- ✅ "The inbox that writes your replies for you" → concrete outcome
- ❌ "A better way to invest" → generic
- ✅ "Commission-free trading for everyone" → outcome + audience
Swipeable formulas that consistently work:
| Formula | Example |
|---|---|
[Outcome] for [Audience] |
"Automated bookkeeping for freelancers" |
[Product] is a better way to [action] |
"Linear is a better way to build products" |
[Do desirable thing] without [pain] |
"Ship projects 40% faster, without Slack fatigue" |
The [category] that [unique mechanism] |
"The CRM that updates itself" |
Write five headlines, then cut to the one that's most specific. The more opinionated it is, the better it pre-filters for the right signups: you don't need everyone on your list, you need the right everyone. On a LaunchList hosted page you can also select the hero and ask the assistant under the page for a change in plain words ("make the headline shorter", "rewrite this for developers"); each change is one undo step, so trying five versions costs nothing. For 15 real teardowns of headlines that worked, see waitlist landing page examples that convert.
Step 3: Add one above-the-fold signup form
One field (email), one button, above the fold, no navigation. That's the whole rule.
- Ask for email only. Every extra field (name, company, role) measurably drops conversion. You can collect more later with a survey once they're on the list. (If you genuinely need one qualifier, add a single optional field, no more.) If your audience doesn't live in email, the form can identify people by phone, username, wallet address or a custom field instead, or run anonymously.
- Make the button say what happens next. "Join the waitlist" or "Get early access" beats "Submit."
- Remove the nav. A waitlist landing page has exactly one job. Every other link is an exit. Hiding the menu alone typically lifts conversion noticeably.
- Keep it above the fold. If someone has to scroll to find the form, you've lost the impatient half of your traffic.
The default LaunchList form is a single email field, which is the right starting point; you edit it under Forms, and the hosted page and every embed render the same form. When you do need more, the builder has 20 field types (including select, rating, NPS, consent and hidden fields), conditional logic and multi-step forms, all on every plan. If you're embedding, the snippet from Step 1 already renders it (full walkthrough: how to add a waitlist form to your website). If you have strict brand requirements and want to keep your own form markup and CSS, add one attribute to your existing form and LaunchList takes over submission, validation, error messages and referral attribution:
<form data-launchlist-enhance="frm_8Kd2Qm4Rp9">
  <input type="email" name="email" placeholder="[email protected]" required>
  <button type="submit">Join the waitlist</button>
</form>
The loader script from Step 1 still goes in your <head> once.
Step 4: Tune the referral loop
This is the step that turns a form into a growth engine, and it's the one most people skip. After someone signs up, they should get a unique share link, see their position in the queue, and be able to move up by inviting friends.
Here's why it matters: without a referral mechanic, you pay for every single signup individually, through ads, content, or your own time. With one, each signup can bring two to five more, for free. This is exactly how Dropbox grew from 100,000 to 4 million users in 15 months. The underlying math (how a referral rate above a certain threshold makes your list compound instead of decay) is covered in our viral loop guide and viral coefficient / K-factor guide.
In LaunchList there's nothing to switch on: every signup gets a personal referral link the moment they join, and when a friend joins through it, the referrer moves up. What you tune is what the loop is worth, under Audience → Referrals & rewards:
- Decide what a referral is worth. The line is ordered by points, and a friend who joins gives 10 by default (Settings → Points per referral). You can also add actions, such as following you on X, that move people up.
- Add reward milestones for extra motivation: early access at 3 referrals, a free month at 10, founder swag at 25. Rewards start on the Collect plan; LaunchList announces each unlock by email for you, and can deliver some itself (jump them ahead, add a tag, give bonus points). Patterns that work are in waitlist milestones & rewards.
- Show the leaderboard so top referrers can see their rank. Competition drives shares. Add the leaderboard section to your hosted page, or embed it on your own site as a widget; it's on every plan.
One thing to explain to your signups: with double opt-in on (the default for waitlist forms), a referral counts when the friend confirms their email, not when they submit. That's what stops people inflating their position with made-up addresses. For the complete mechanic (rewards, fraud rules, and messaging), see the waitlist referral program guide.
Step 5: Add honest social proof
People join things other people have joined. Give visitors a reason to believe your waitlist is real:
- A live signup counter: "Join 1,243 founders on the list." On a LaunchList page it's the signup counter section; on your own site it's the counter widget, one
<div>. Both show your real total. - Live referral proof: the leaderboard and reward-milestone blocks show the referral race on the page itself. Both are also saved widgets you can embed elsewhere (Embed & API → Your website → Widgets, every plan), along with a countdown and a "What's new" feed of your updates. Widgets never show personal data: people appear as masked monograms.
- Press or community logos: even a single "Featured on Indie Hackers" line helps. The logos block holds them.
- A one-line testimonial from an early user or advisor.
One rule: never invent numbers. If you have 20 signups, "Join 20 early users" is honest and still works, and if the count is too small to help you, leave the counter off until it isn't. A founder photo with a one-sentence story beats a fake "10,000+ users" every time, and fabricated proof is the fastest way to lose trust when someone checks.
Step 6: Set up the success page and confirmation email
The moment after signup is your highest-intent moment. Two things must happen:
The success page (block 6 in the blueprint) should immediately show position in line, the share link, and the referral incentive: "You're #872. Invite friends to move up." A generic "Thanks, we'll be in touch" throws away the viral moment. On LaunchList this is the default: a waitlist form sends each signup to their own status page with their position, their referral link with share buttons, the reward ladder, and a prompt to confirm their email if they haven't yet. You can switch a form to an inline message or your own URL, but for a waitlist the status page is usually right.
The status page has its own block editor under Pages → Status page. Its blocks: position, a verification notice, the referral link with a copy button, one-tap share buttons (WhatsApp, X and more), referral count, reward ladder progress, points tasks ("Follow us on X, +50 points", from the Collect plan), a post-signup survey, an early-access code with a Claim button once you invite them, and any saved widget. Asking your one qualifying question here, after they've joined, keeps the signup form at one field.
The confirmation email should arrive within seconds, restate the value, and repeat the share link so people can refer from their inbox. Keep the day-0 email plain and human, not a marketing blast. LaunchList sends the verification and welcome emails on every plan, and you can rewrite their wording. Templates and subject lines that get opened are in waitlist email templates that get opened.
Check the settings that live outside the editor.
- Search and sharing (Embed & API → Hosted page): the page title, meta description and a 1200x630 share image. Skip the image and LaunchList generates a share card, so a link pasted into Slack or X never looks blank.
- Page address (same tab): change the slug any time; the old address forwards permanently.
- Tracking tags (Project settings → Privacy & spam): add your own GA4, Google Tag Manager, Google Ads, Meta Pixel, TikTok Pixel, LinkedIn Insight, X Pixel, Plausible or PostHog, with an optional consent banner and a privacy-policy link, on every plan.
- Spam protection (same screen): strictness from Off to Strict, and optional CAPTCHA with your own Turnstile, reCAPTCHA or hCaptcha keys. Contact Trust holds suspicious signups for review rather than counting them.
- Language (Project settings → General): LaunchList's own text on the page, status page and confirmation emails can show in 17 languages, with a visitor switcher. Your page copy stays as you wrote it.
- Branding: pages on the Free and Collect plans carry a small LaunchList badge; the Launch plan removes it from the page, status page, emails and share card.
Then test and ship. In LaunchList, turn on Test mode under Project settings → General first, so practice signups stay out of your real list and your contact count. Open the page in a private window, submit a test email, confirm the email lands, click your own referral link, and check the position updates. Do this on your phone too: a large share of pre-launch traffic comes from Twitter/X, Reddit, and Indie Hackers, all mobile-first. Switch test mode off, and when it works on mobile, you're live.
Free waitlist landing page template
Here's a fill-in-the-blank template built from the six steps. Copy it, replace the brackets, and you have a page that converts:
[Logo]

# [Specific outcome] for [specific audience]
## [One sentence: who it's for and what makes it different]

[ [email protected]                 ] [ Join the waitlist → ]

● Join [real count] others on the list        (omit if the number is small or zero)

As seen on: [Community / Publication]          (optional, only if true)

────────────────────────────────────────────

## How it works
1. Drop your email: takes 10 seconds
2. Share your link: move up the queue for every friend who joins
3. Get first access when we launch [month/quarter]

## Why join now
[One or two lines on the early-adopter benefit: pricing, priority access, input on the roadmap]

────────────────────────────────────────────

  ┌─ SUCCESS PAGE (shown after signup) ─────────┐
  │  You're #[position] in line                 │
  │  Invite friends to move up ↑                │
  │  [ your unique share link ]  [ Copy ]       │
  │  Leaderboard: you have [n] referrals        │
  └─────────────────────────────────────────────┘

────────────────────────────────────────────

Built by [founder + one credibility line].
[ Join the waitlist → ]
Keep the whole thing scannable in under ten seconds. If a visitor has to read a paragraph to understand what you do, the headline needs another pass, not the layout.
Common mistakes to avoid
Most underperforming waitlist pages share the same handful of flaws:
- Too many form fields. Email only. Name, company, and role can wait.
- A generic headline. "Join our waitlist" tells visitors nothing. Lead with the outcome.
- No referral mechanic. The single most common miss: it turns a growth engine back into a one-shot form.
- No real success page. If "Submit" leads to a plain thank-you, you've skipped the viral moment.
- Heavy navigation. Every extra link is an exit. One page, one job.
- No mobile test. Ship the form on a phone before you ship it anywhere.
- Inventing social proof. Honest and small beats fake and big.
If your page is already live and not converting, work through Why is my waitlist not converting? 9 proven fixes. The fix is almost always the headline or the CTA, not the design.
How to tell if your page is working
Once traffic is flowing, watch four numbers:
- Visit → signup rate: the one that matters most. Measure against your own baseline and improve the headline first.
- Signup → share rate: what percentage of signups actually bring in a friend. Low share rate means the incentive or the success page needs work.
- Referral coefficient: how many new signups each existing signup brings. Above the compounding threshold, your list grows on its own (the K-factor guide has the math).
- Waitlist → customer rate: measured after launch, but plan for it now with how to convert a waitlist into paying customers.
If your page is on LaunchList, the first three are already in Analytics: the Overview shows what share of hosted-page visits signed up and how many came through a referral, each compared with the period before, and the Referrals tab adds referrals per referrer and a funnel from signing up to referring someone to reaching a reward. (To turn those into a K-factor, the K-factor guide has the math.) Conversion benchmarks vary widely by audience and traffic quality, so don't chase someone else's number: beat your own last week. Analytics keeps 28 days of history on the Free plan, 90 days on the Collect plan, 12 months on the Launch plan and all of it on the Grow plan, and the Grow plan adds where signups come from (channels, landing pages, referring sites, devices). On any plan, the tracking tags you added cover the rest.
Build or edit the page from an AI assistant
If you work in Claude, ChatGPT, Cursor or another MCP client, LaunchList's MCP server (on every plan, connected under Embed & API → AI assistants with OAuth or a scoped API key) can do the page work from chat: create_page drafts a page from a description, update_page applies a plain-language edit, and apply_page_edits makes exact structural changes. Page tools only ever write the draft; you review it and press Publish in the editor yourself.
Then send traffic to it. The highest-converting pre-launch channels are Product Hunt, Indie Hackers, Twitter/X, Reddit, and targeted communities. The full playbook is in how to promote your waitlist and how to get your first 100 waitlist signups.
Frequently asked questions
How do I create a waitlist landing page for free?
Sign up for a hosted waitlist tool with a free plan. LaunchList is free for your first 100 contacts with no card. Signing up gives you a launch page and a signup form already wired together: edit the page (or embed the form on your own site), tune the referral loop, publish, and share the link. No website or code required for the hosted option.
How long does it take to build one?
Under 15 minutes for a hosted page; most of that is writing the headline. Embedding on an existing site adds a few minutes to paste two lines. The referral loop, success page, and confirmation email are already set up when you start; you adjust them in the dashboard rather than building them from scratch.
Do I need a website to create a waitlist landing page?
No. A hosted waitlist page gives you a standalone, shareable URL with no site required; on LaunchList it lives at your-slug.launchlist.page. If you want the page on your own domain, connect one on the Collect plan (from $9 a month), or embed the form on a site you already have. See hosted page vs embedded widget for the trade-offs.
What should a waitlist landing page include?
Six things: an outcome-driven headline, a one-line subhead naming the audience, a single above-the-fold email form, honest social proof, a short how-it-works with a referral incentive, and a success page that shows queue position plus a share link. That's the whole anatomy; see the blueprint above.
Can I build a waitlist landing page in Webflow, WordPress, or Squarespace?
Yes. Embed the waitlist form on any of them: the native form captures emails but has no referral or position tracking, so you paste a dedicated waitlist form instead. On Squarespace, custom code needs the Business plan or above; on a Personal plan, link a button to your hosted page instead. Step-by-step guides: Webflow, WordPress, Squarespace.
Will my waitlist landing page show up on Google?
Only if it's on your own domain. LaunchList pages are server-rendered, but a page on a launchlist.page address is never indexed; connect your own domain on the Collect plan or higher and search engines can index it. An embedded form on your own site is indexed with that site.
What's the difference between a waitlist landing page and a coming soon page?
In 2026 they're largely interchangeable: both capture emails pre-launch. "Coming soon page" is the older, broader term; "waitlist landing page" is the modern version with referral mechanics and position tracking built in. See what is a waitlist landing page? for the full comparison.
How many signups should I expect?
Conversion rates depend heavily on audience match, traffic source, and offer, so there's no universal number. Measure against your own baseline over time and iterate on the headline first; it's almost always the highest-leverage change.
Create your waitlist landing page today
You now have the whole build: six blocks, a copy-paste template, headline formulas, and the referral loop that makes the page grow itself. None of it takes longer than a coffee break.
LaunchList is pre-launch waitlist software for founders: a hosted launch page you build in a block editor (or have AI draft from a description), or a two-line embed for your own site; a status page for every signup with their position and referral link; referral credit that only counts verified signups; a leaderboard, rewards, and built-in email to keep the list warm. It's free for your first 100 contacts with no card, and paid plans start at $9 a month on the Collect plan. Start free → or see pricing.
Related reading:
- What is a waitlist landing page?: the definition and the why.
- 15 waitlist landing page examples that convert: real teardowns and templates.
- Waitlist landing page templates: free starting pages you can preview live and make your own.
- Hosted page vs embedded widget: how to choose where your page lives.
- Waitlist referral program guide: the growth loop in depth.
- Waitlist email templates that get opened: the confirmation and nurture emails.
- How to promote your waitlist: 15 channels to drive traffic once it's live.
- Best free waitlist software (2026): tool comparison.