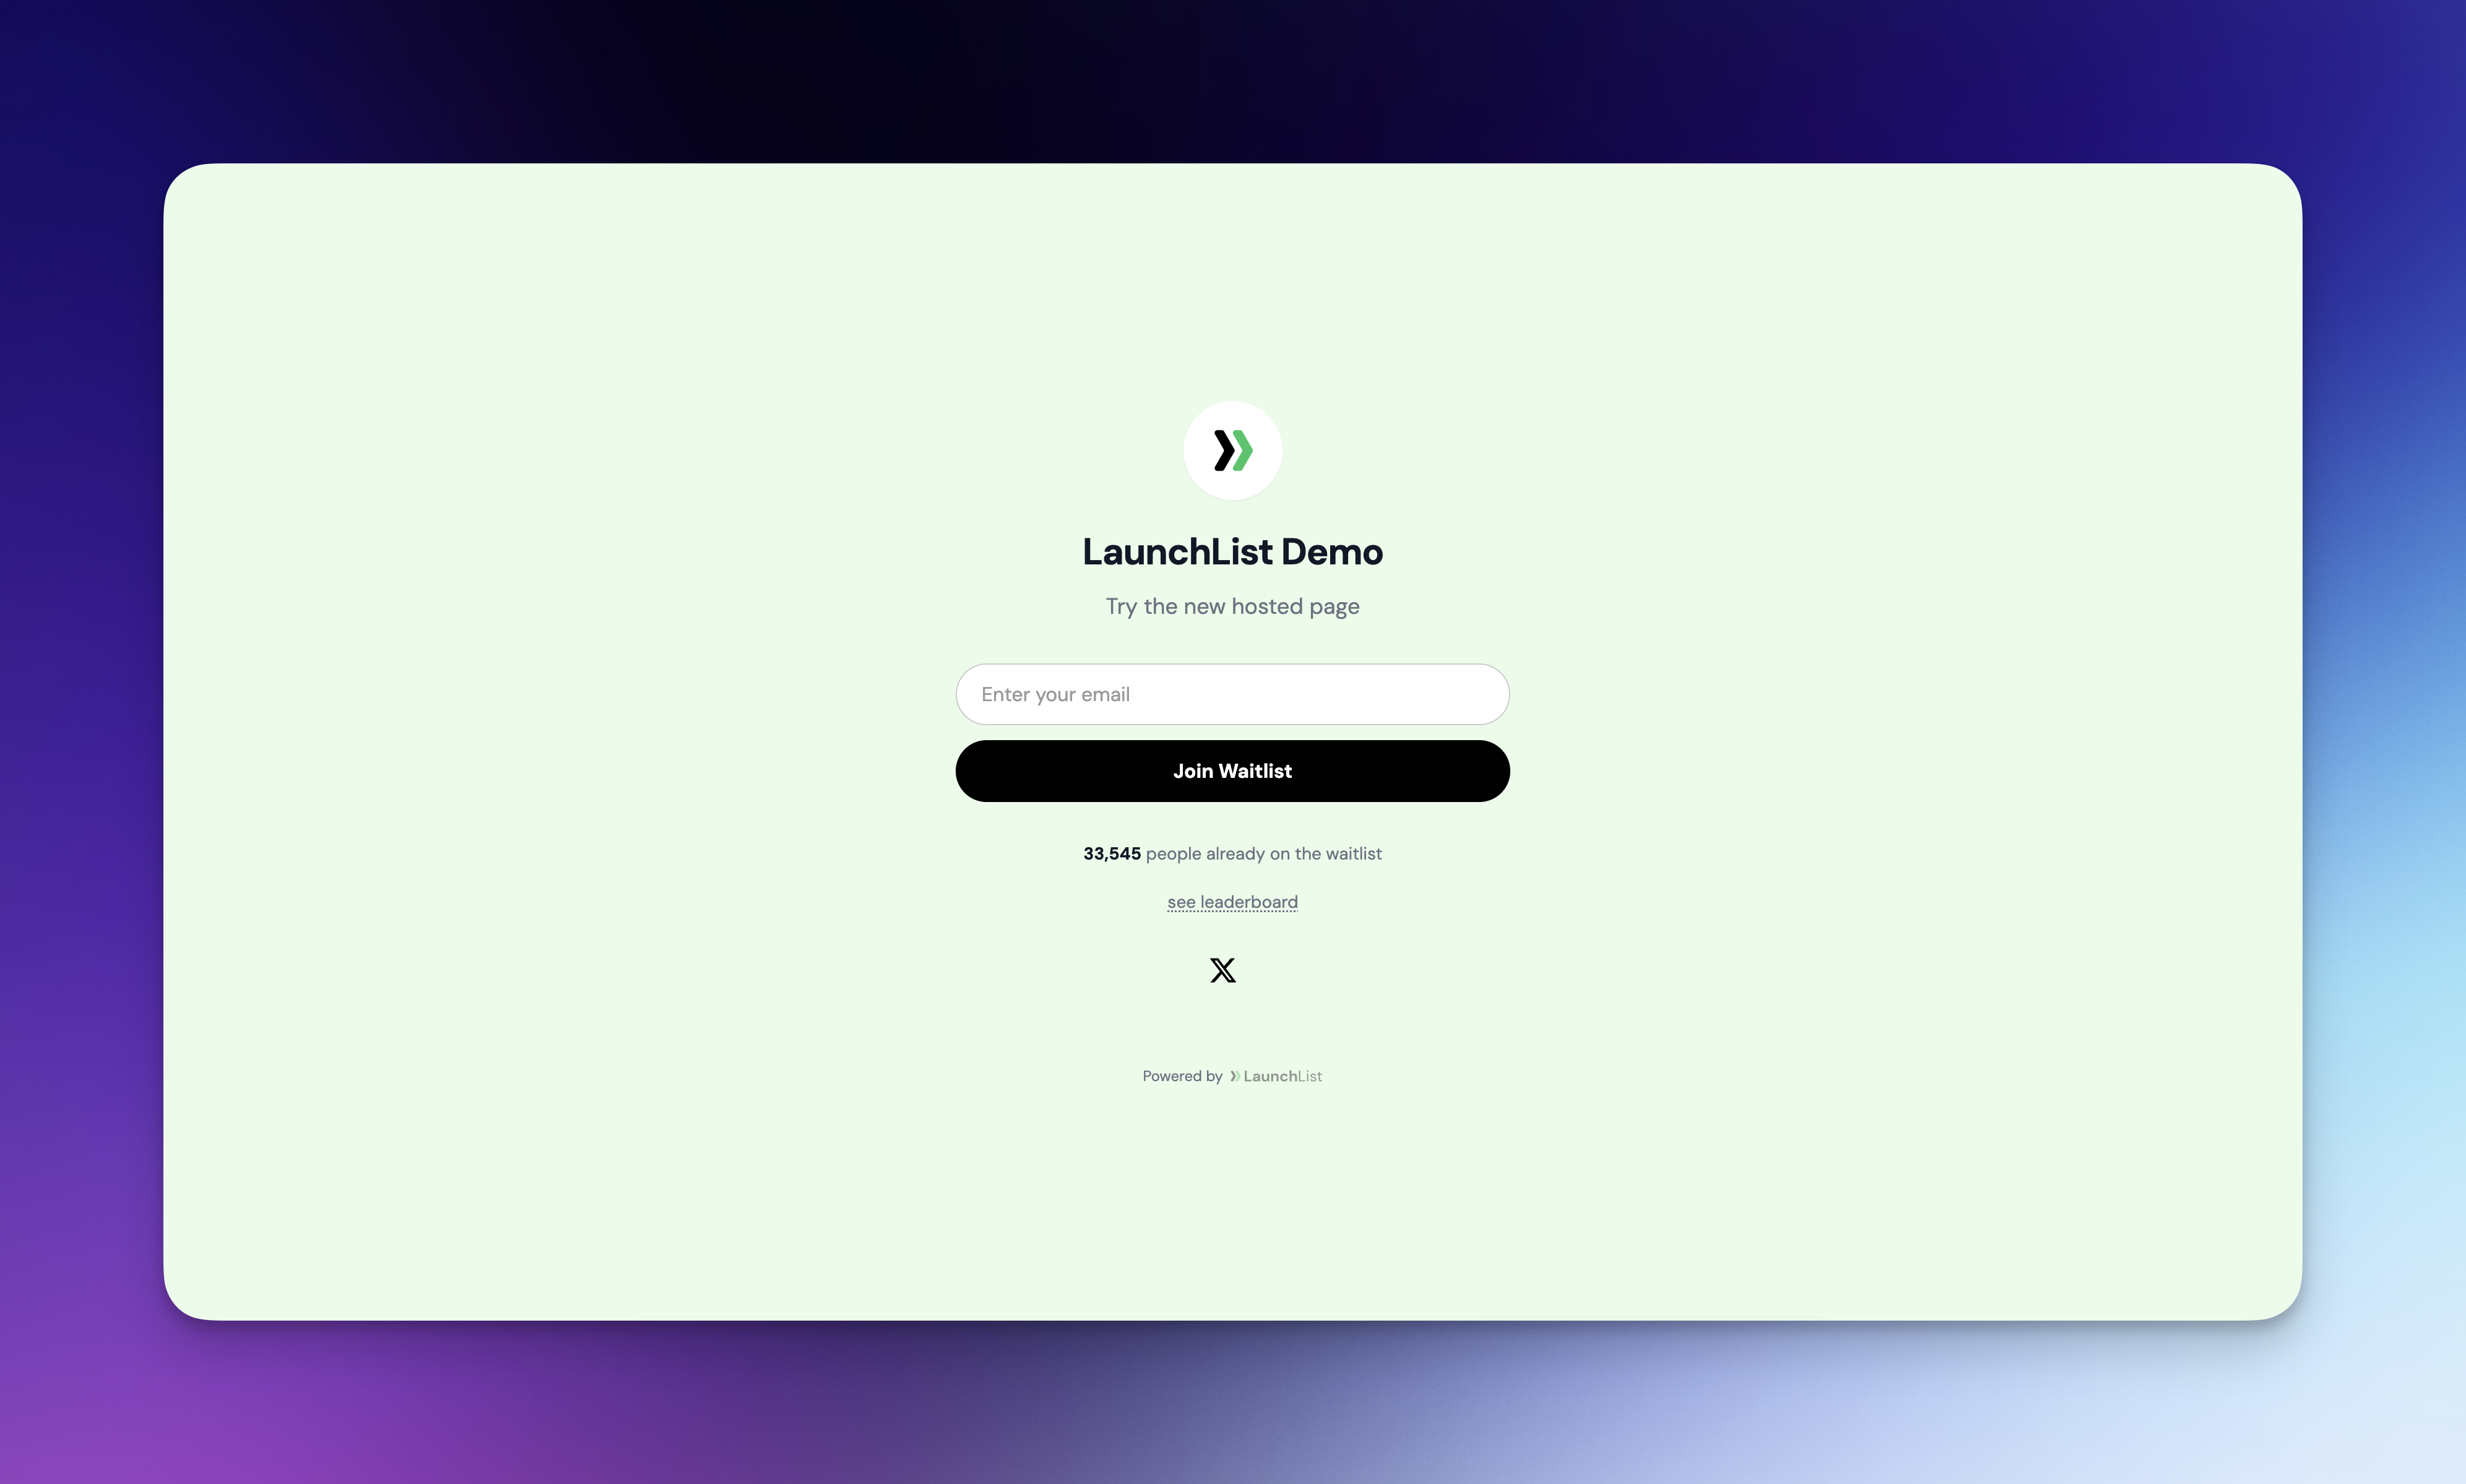
The hosted waitlist page is now a true builder — drop in sections like Hero, Features, How It Works, FAQ, and Form, reorder them, toggle visibility, and tune each one independently. Two starter templates included. Existing pages keep working untouched.
The Integration page is now a proper design studio. Collect any data you want with custom fields, watch your widget update live as you tweak it, and ship embeds that fit any page — from compact signup boxes to full-width CTAs.
A smart security system that protects your waitlists by analyzing user patterns and behaviors. Works together with IP reputation to catch spam while letting real users through easily.
We've implemented an advanced IP Reputation System to enhance spam protection while maintaining a seamless experience for legitimate users. This system automatically learns from submission patterns to identify and prevent spam submissions.
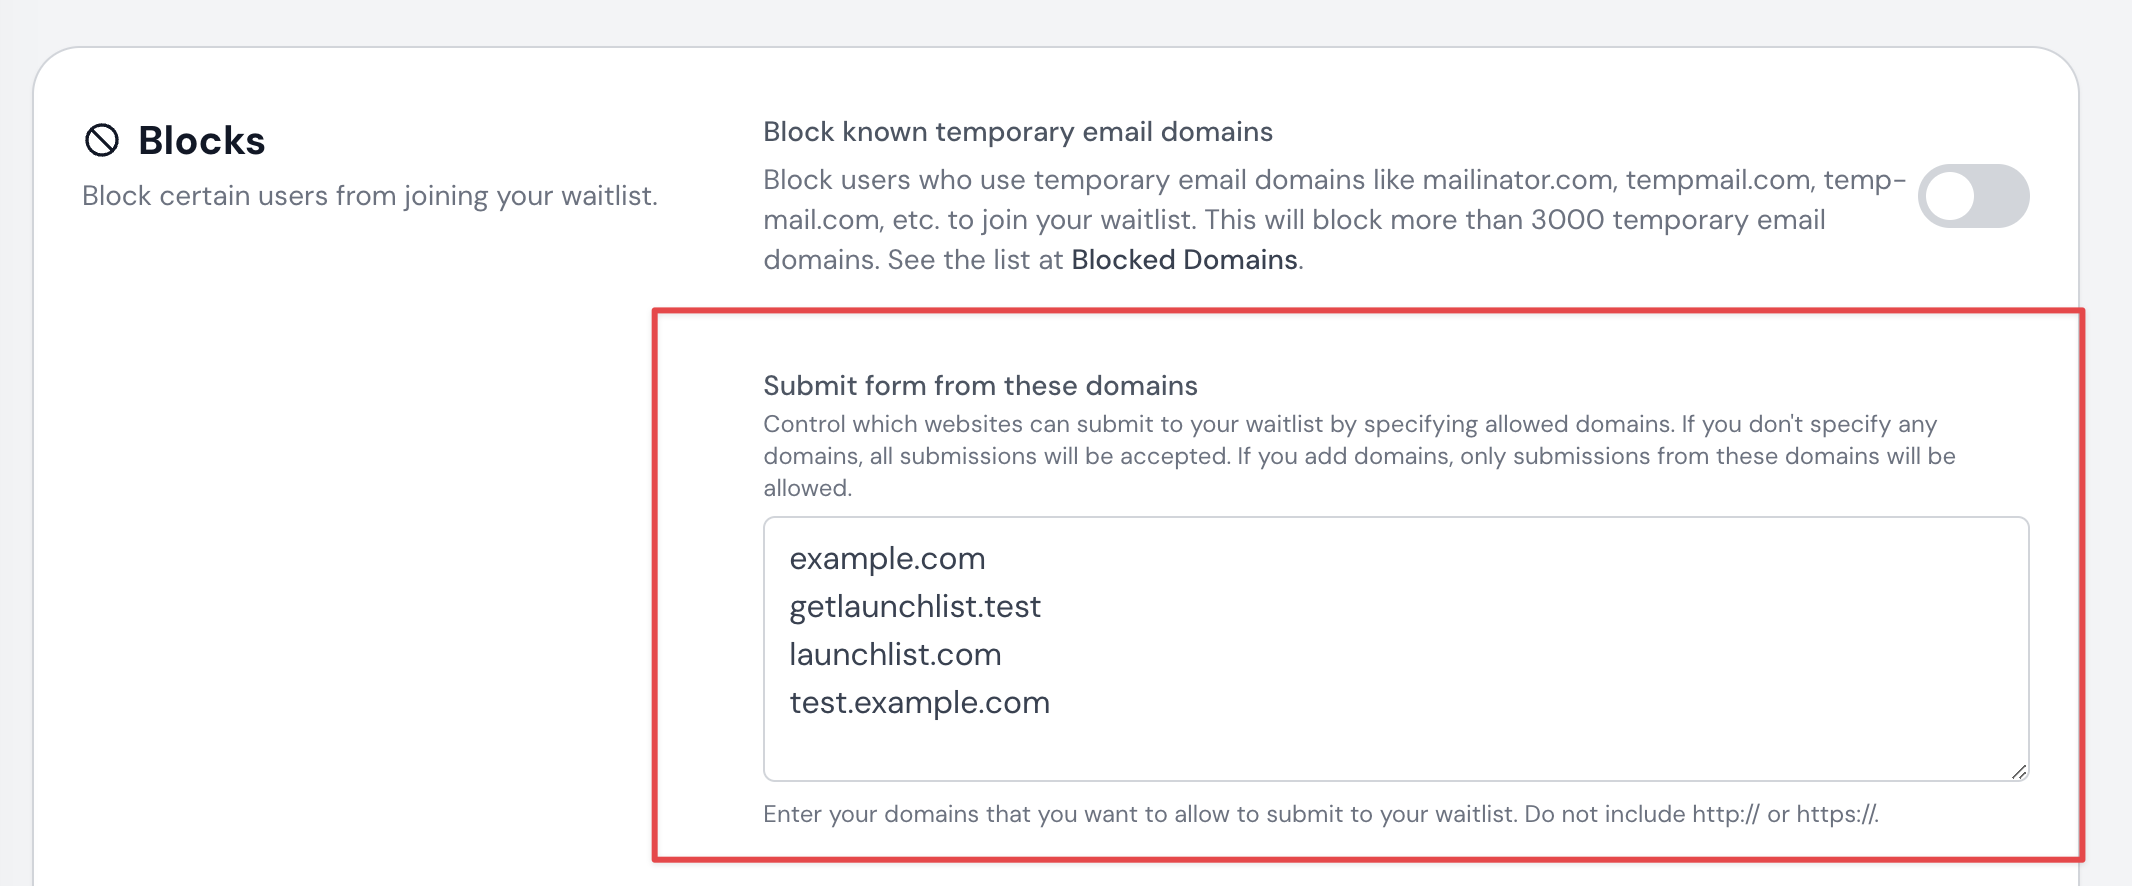
We've enhanced our spam protection system with intelligent domain/referrer validation that helps prevent unauthorized form submissions while ensuring legitimate users can still join your waitlist.
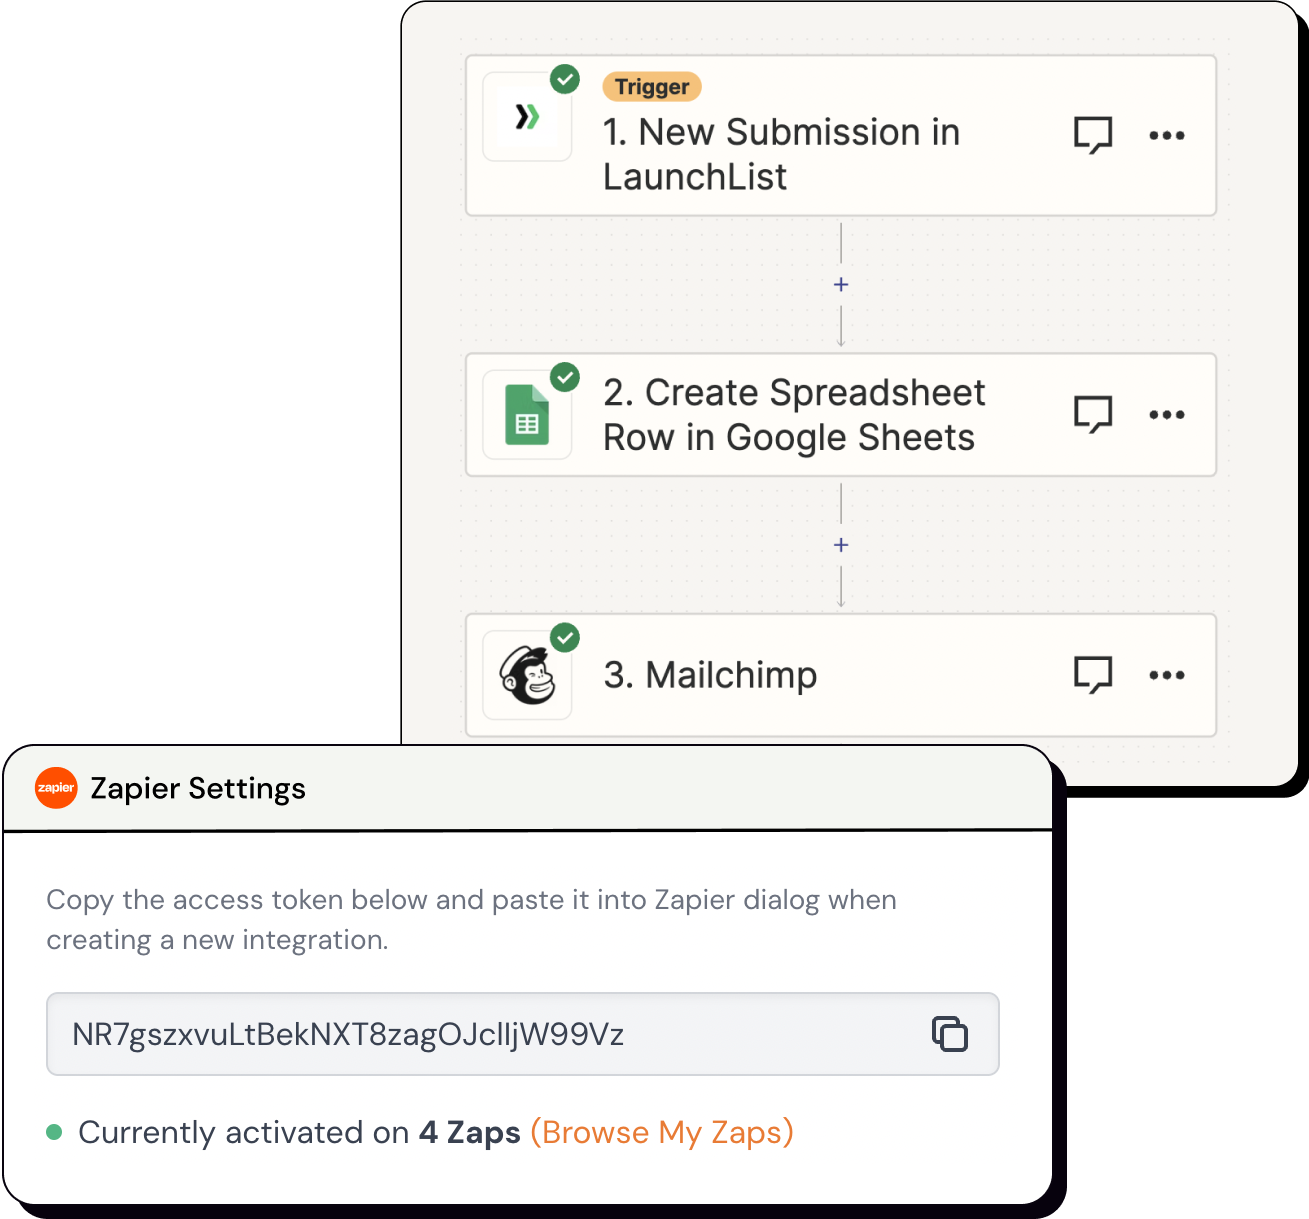
We're releasing a new feature - the Zapier plugin, currently in beta. This plugin lets you send new submission data to any app on Zapier. You can also use Webhook with this plugin for more integrations.
Currently, we're providing two triggers: 'New Submission' and 'Email Verification'. The first will activate when a new user signs up to your waitlist while the second will activate when an email address gets verified.
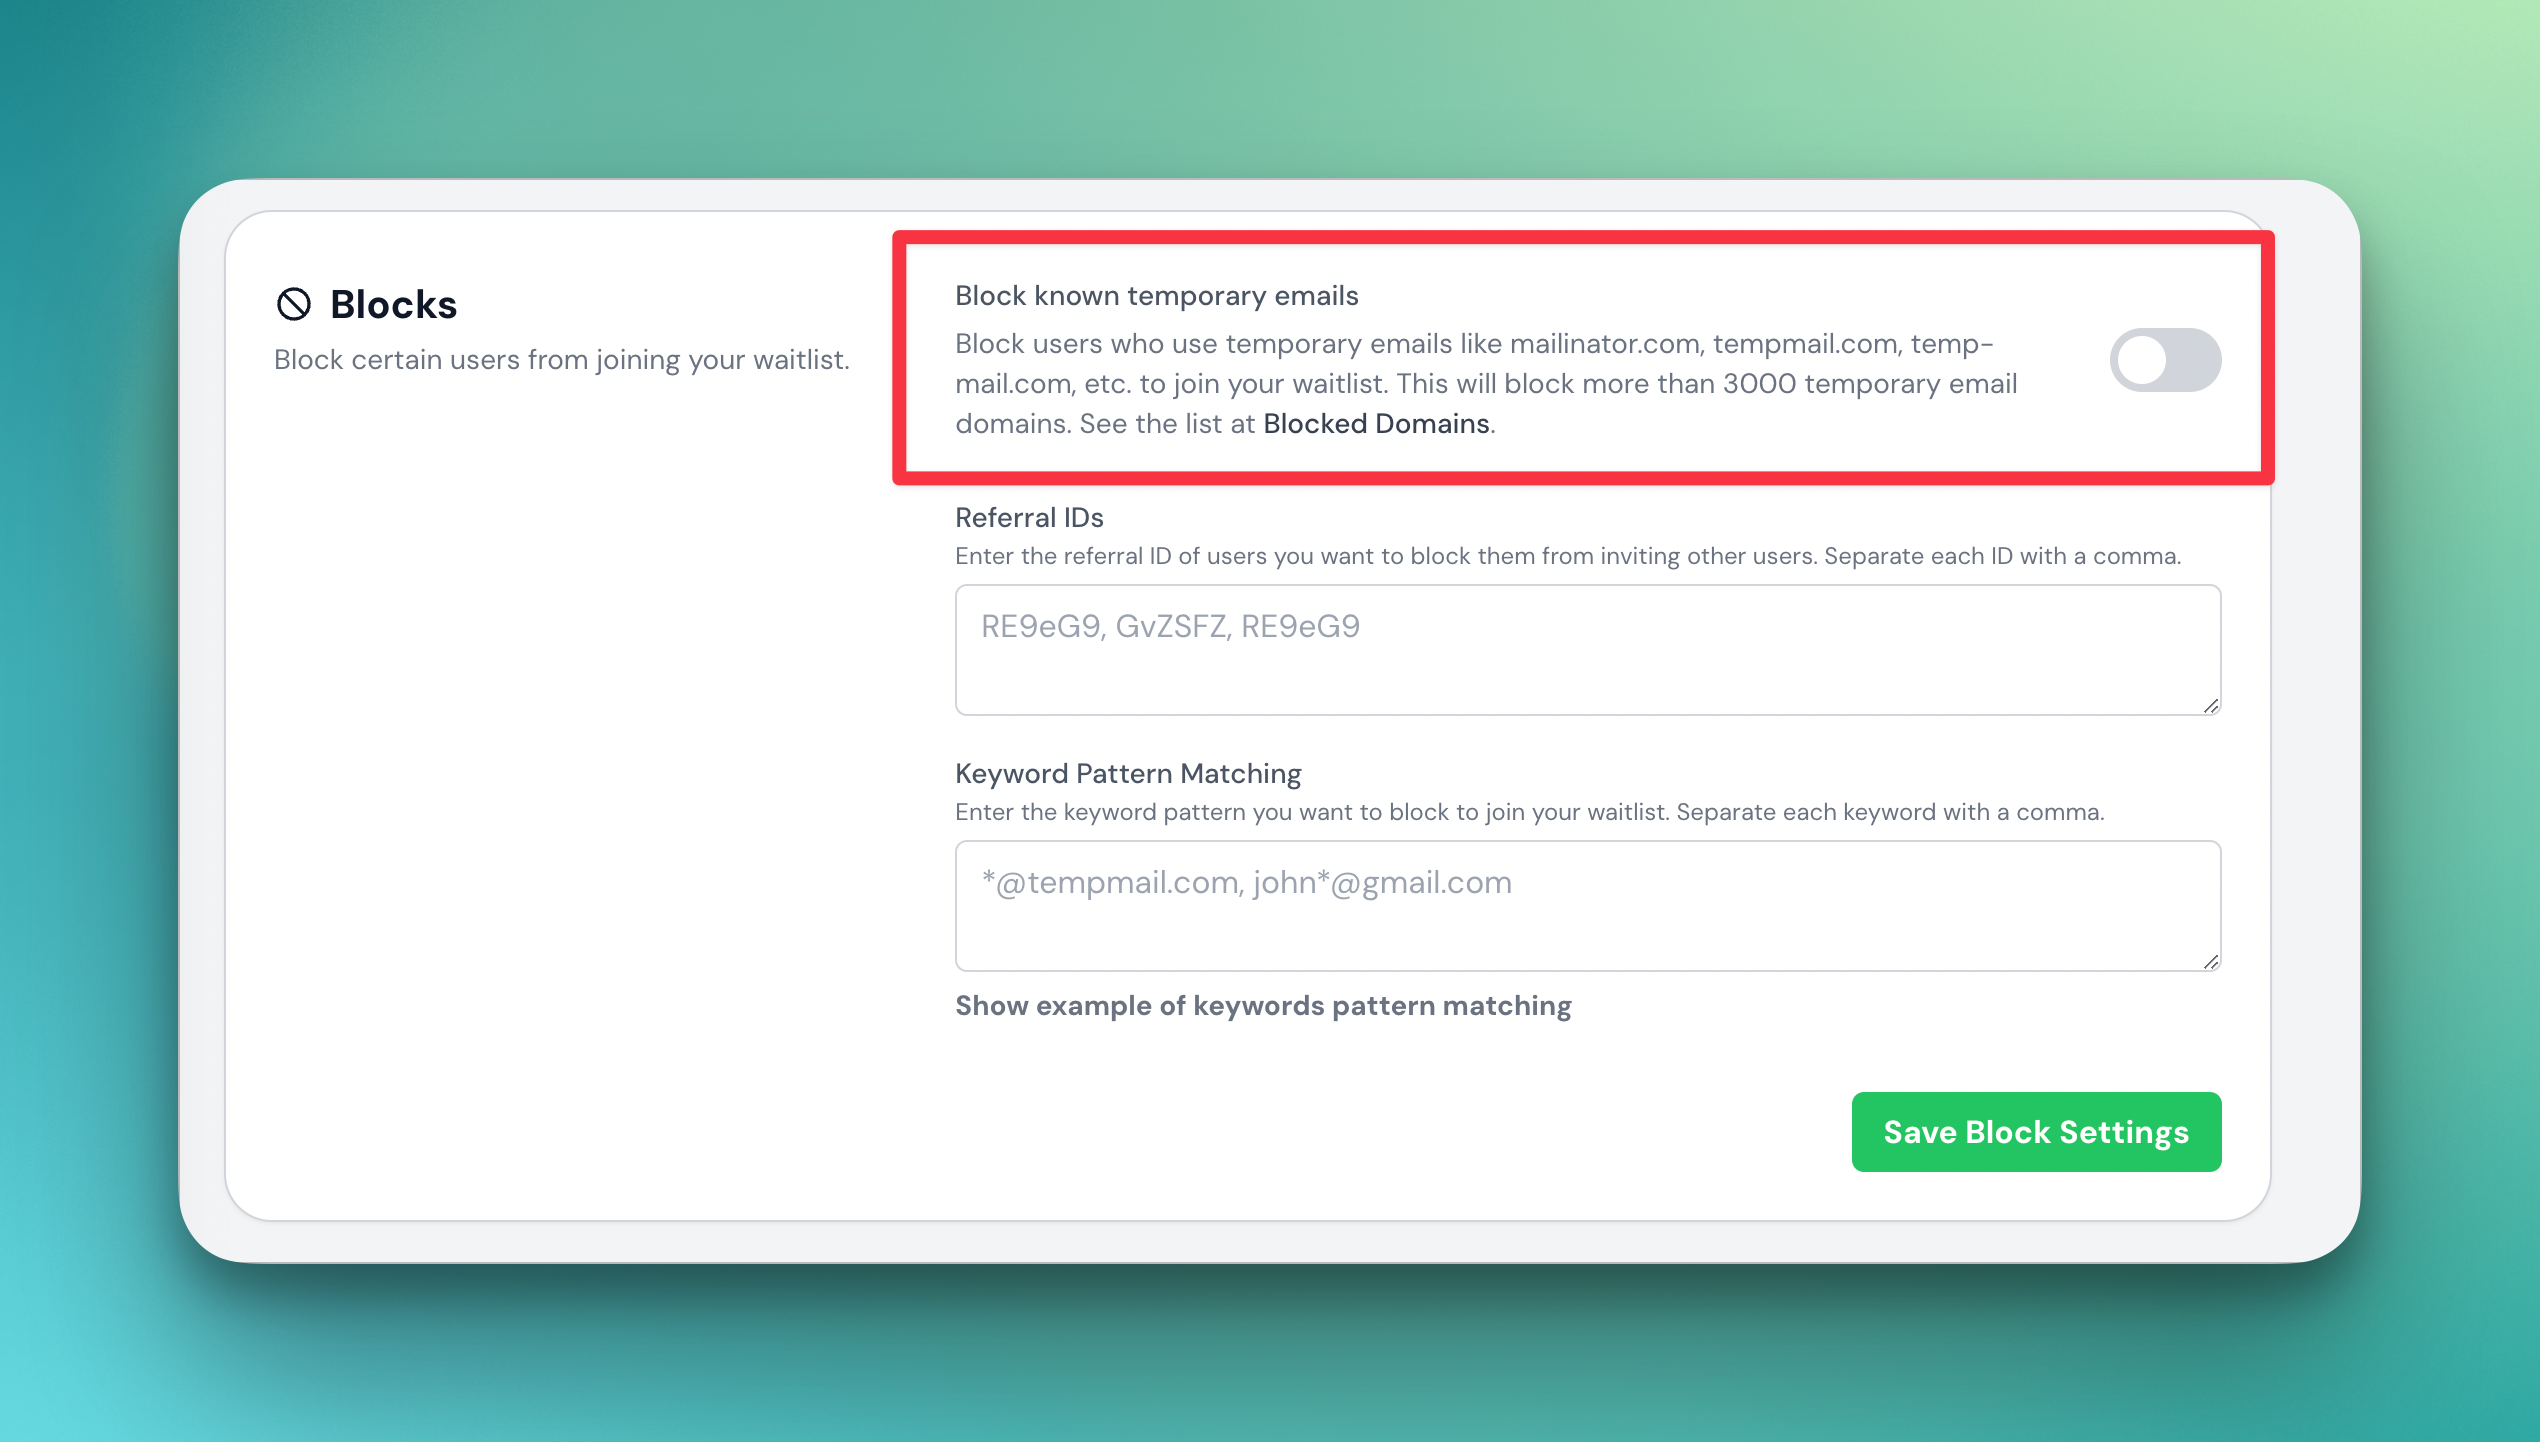
We are adding a new feature to block spam and malicious activity from signing up to your waitlist. This feature will block any email address that is associated with a domain on a list of over 3,000 blocked domains. This will help ensure that only legitimate emails are added to your waitlist.
Here is a more detailed explanation of how the feature works:
The feature will block any email address that is associated with a domain on a list of over 3,000 blocked domains. This list is maintained by LaunchList and is updated regularly to include new domains that are known to be used for spam or malicious activity. You can access the list at here.
When someone tries to sign up for your waitlist using an email address that is associated with a blocked domain, their request will be automatically rejected.
This feature will help to protect your waitlist from spam and other malicious activity, such as phishing attacks.
We hope this feature will help you keep your waitlist safe and secure.
We've introduced a new feature to help you better control the quality of form submissions on your waitlist.
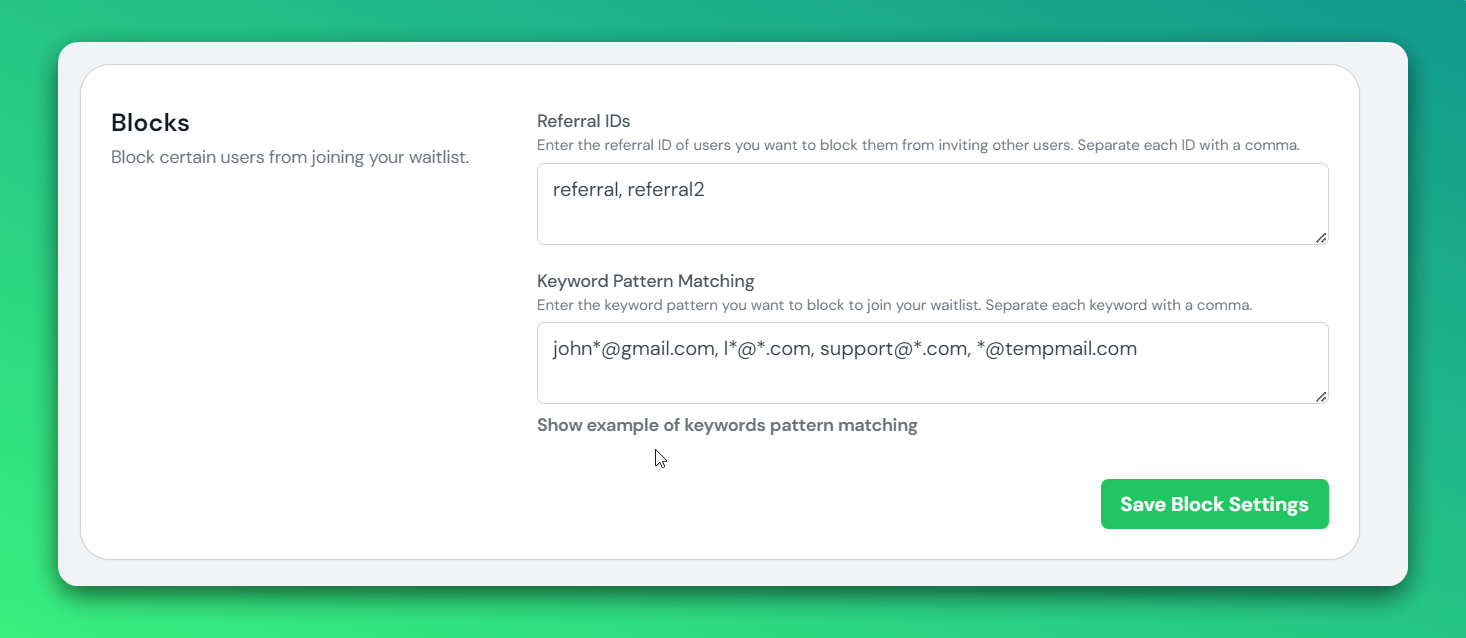
Now, you can prevent spam, irrelevant leads, or low-quality entries by blocking them based on referral codes and keyword patterns. This way, you only get the most genuine submissions! 😎
Go to your waitlist settings, locate the "Blocks" section, and...
Simply enter the referral code you want to block, separate them with commas, and save them! 🚀
How to block by keyword pattern?
What are keyword blocks?
A keyword block pattern is a method used in spam filtering to block emails that contain specific keywords or phrases. The pattern is designed to identify and prevent messages that include certain words or combinations of words that are often associated with spam, phishing, or other malicious content.
Example -
To block all emails from a specific domain, such as example.com, you can use the pattern *@example.com.
To block emails from any Gmail address that starts with "john", you can use the pattern john*@gmail.com.
To block emails from any Yahoo address that ends with "support", you can use the pattern *[email protected].
Basically, the asterisk (*) represents any string of characters, so you can use it to match different parts of an email address. By combining different patterns with commas, you can create a list of email patterns that you want to block.
How to use it?
Simply go to your waitlist settings, find the "Blocks" section,
Input your list of keyword patterns (separated by commas) and save up! 🌟
Now your site's forms will automatically filter out any submissions from unwanted referral sources or with keywords matching your defined patterns. This update provides an additional layer of protection against spam and improves overall form submission quality.
We have launched a new feature: Email validation. This feature will help you ensure the authenticity and reliability of the emails on your waiting list, so you can be confident that your messages are reaching the right people.
Here are some of the benefits of the email validation feature:
It checks for syntax errors, so the emails on your waiting list are properly formatted and less likely to be rejected by the recipient's email server.
It checks for hard bounces, so you can avoid sending messages to non-existent or invalid email addresses.
It checks for risky domains, so you can avoid sending messages to domains that are often associated with spam or fraudulent activities.
It checks for disposable domains, so you can avoid sending messages to temporary or throwaway email addresses that may be used for spamming or other unwanted activities.
It checks for duplicates, so you can avoid sending multiple messages to the same email address.
It checks for spam traps, so you can avoid sending messages to email addresses that are specifically set up to catch spam.
It checks for business domains, so you can be sure that the emails on your waiting list are from legitimate business email addresses.
It checks for deliverability, so you can have a better idea of how likely your messages are to be successfully delivered to the recipient's inbox.
Make sure to turn "Auto validate email on signup" in settings to auto-validate all new emails. To validate the existing list, click the "Validate all emails" in bulk action on the submission page.
We hope you find the email validation feature to be a valuable addition to our tool.
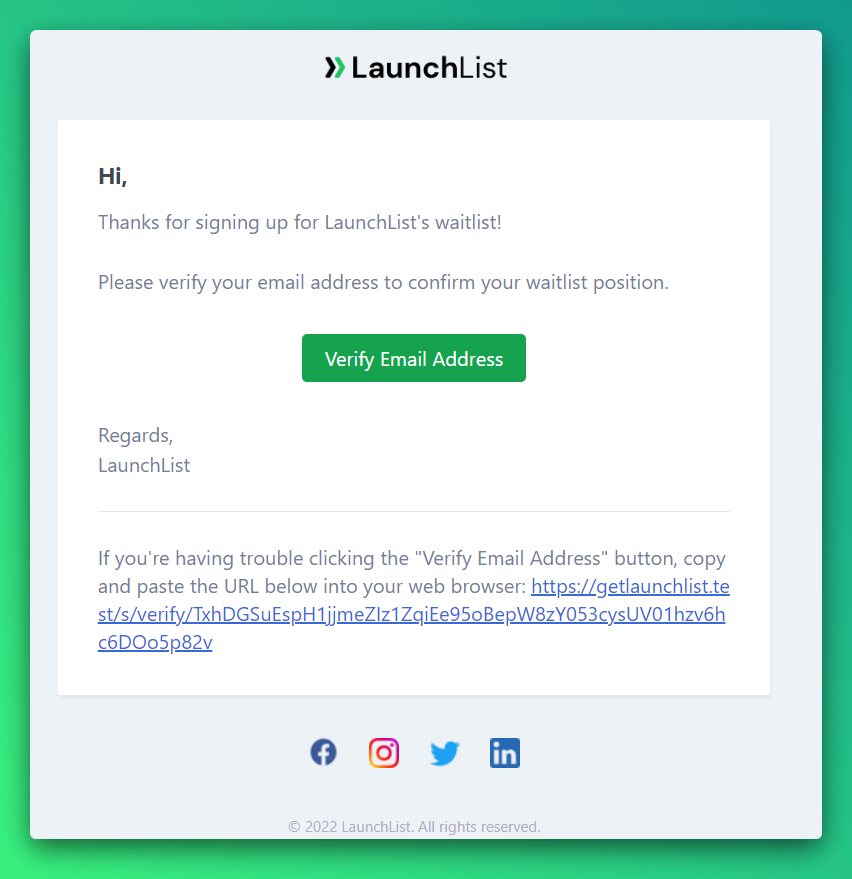
Display your logo on the welcome and verification emails. Additionally, customize the colour of the button on the email template to match your brand colour.
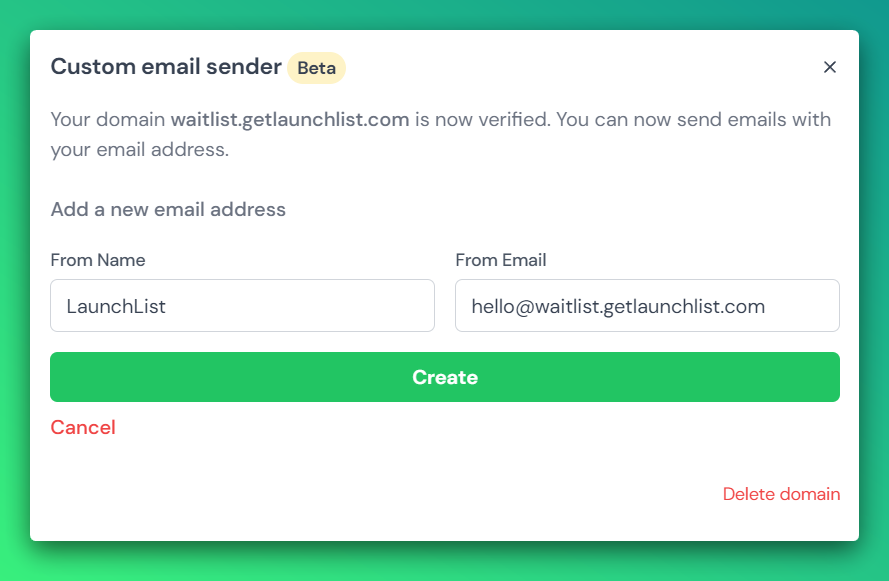
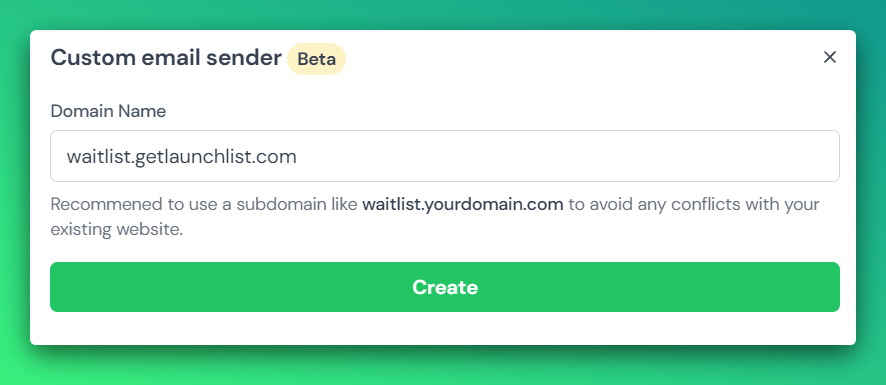
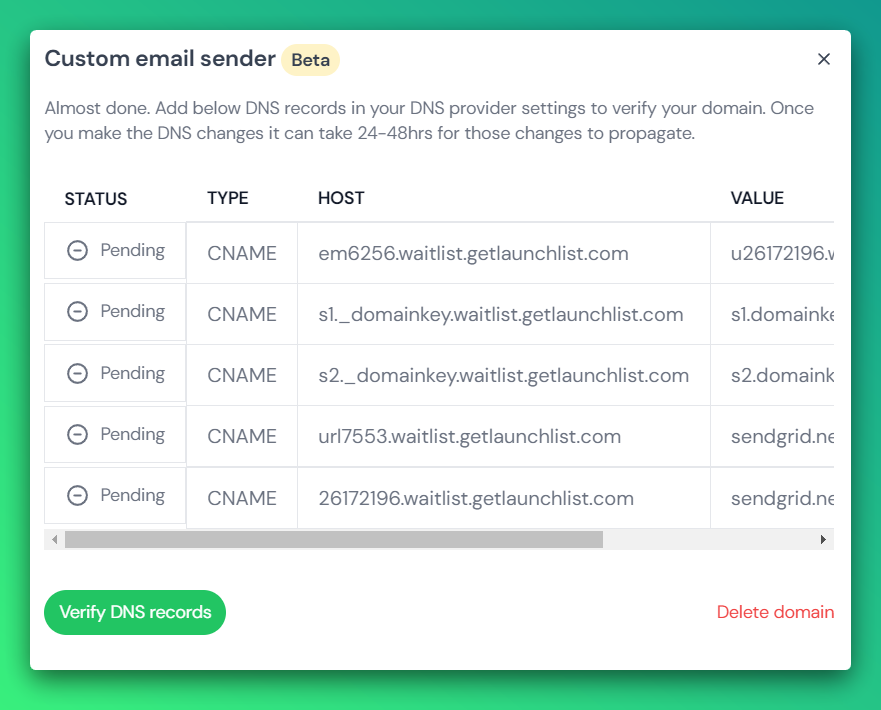
Create a new email address by adding from name and email address and clicking the "Create" button.
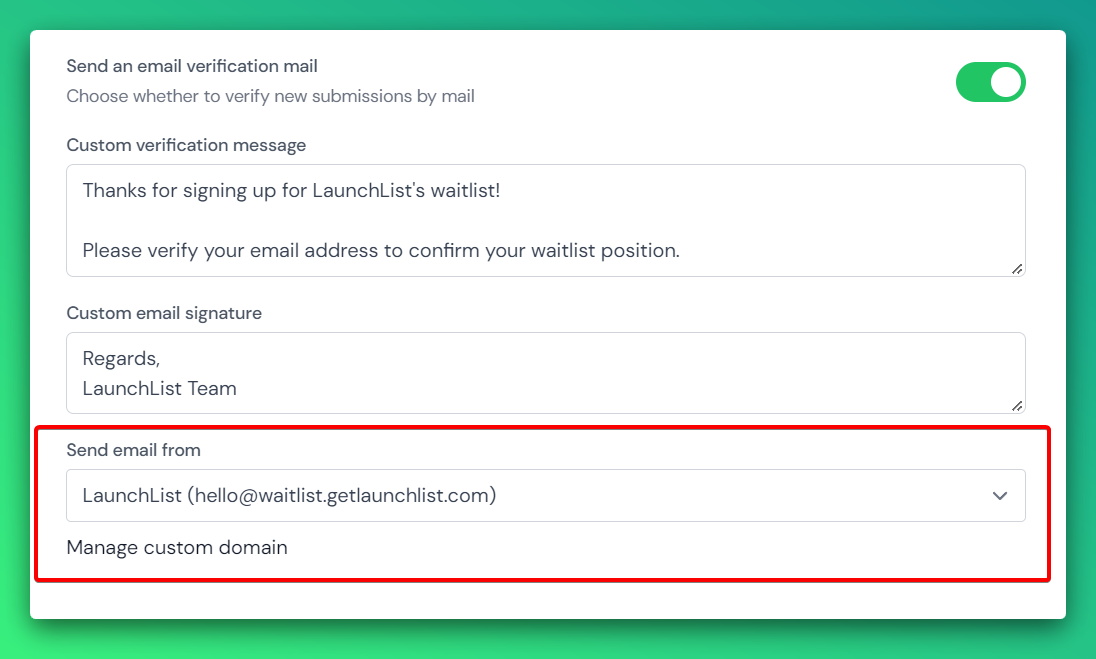
Add your emailClose the modal select the newly created email address from the dropdown and save the settings.Select your emailOnce successfully integrated, your new emails will be sent through your custom domain.
A honeypot field in an HTML form is a hidden input field designed to work out whether or not it is a spam bot submitting your contact form, comments form, or similar.
Add below code to catch spam users and automatically block them to sign up
<input type="hidden" name="_gotcha" />
If the bot fills in the Honeypot input we will return the user back to your website.
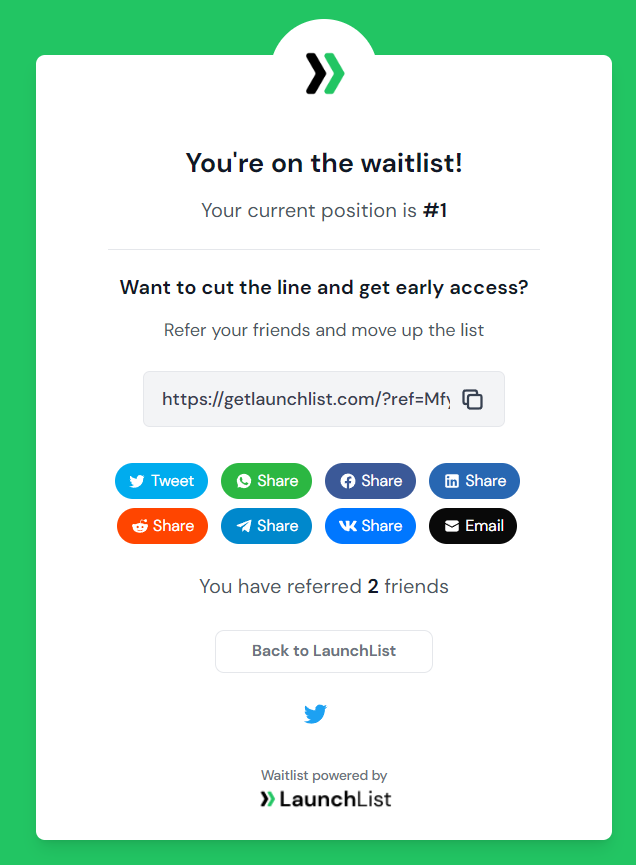
If you are sending welcome or verification emails, you'll see your social media icons automatically added at the end of the mail. This will help increase social media following.
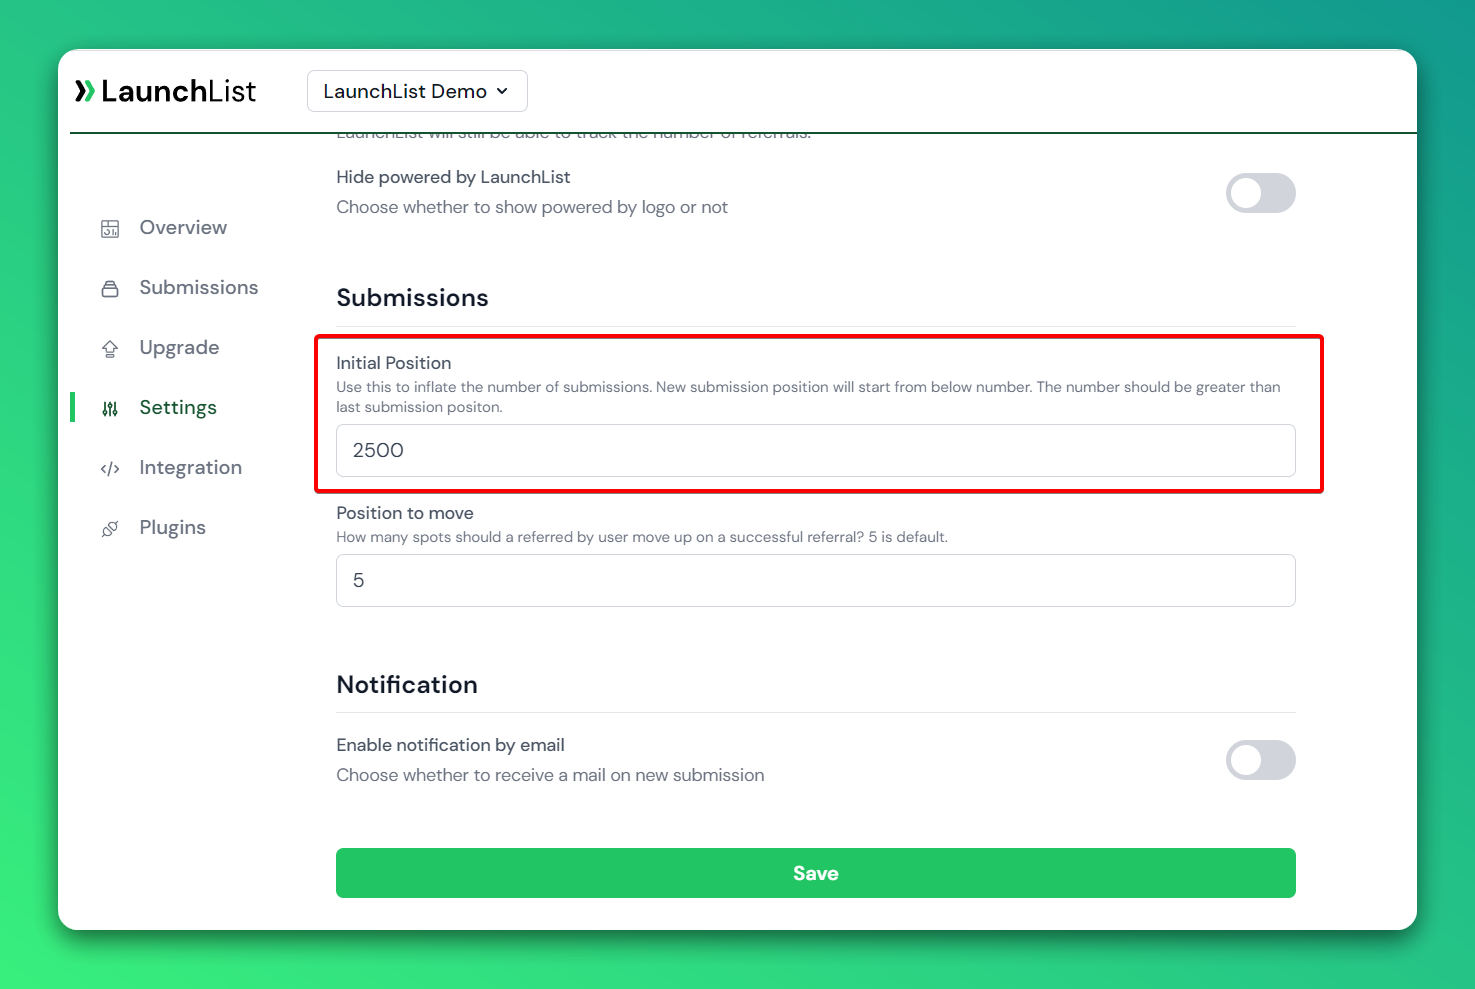
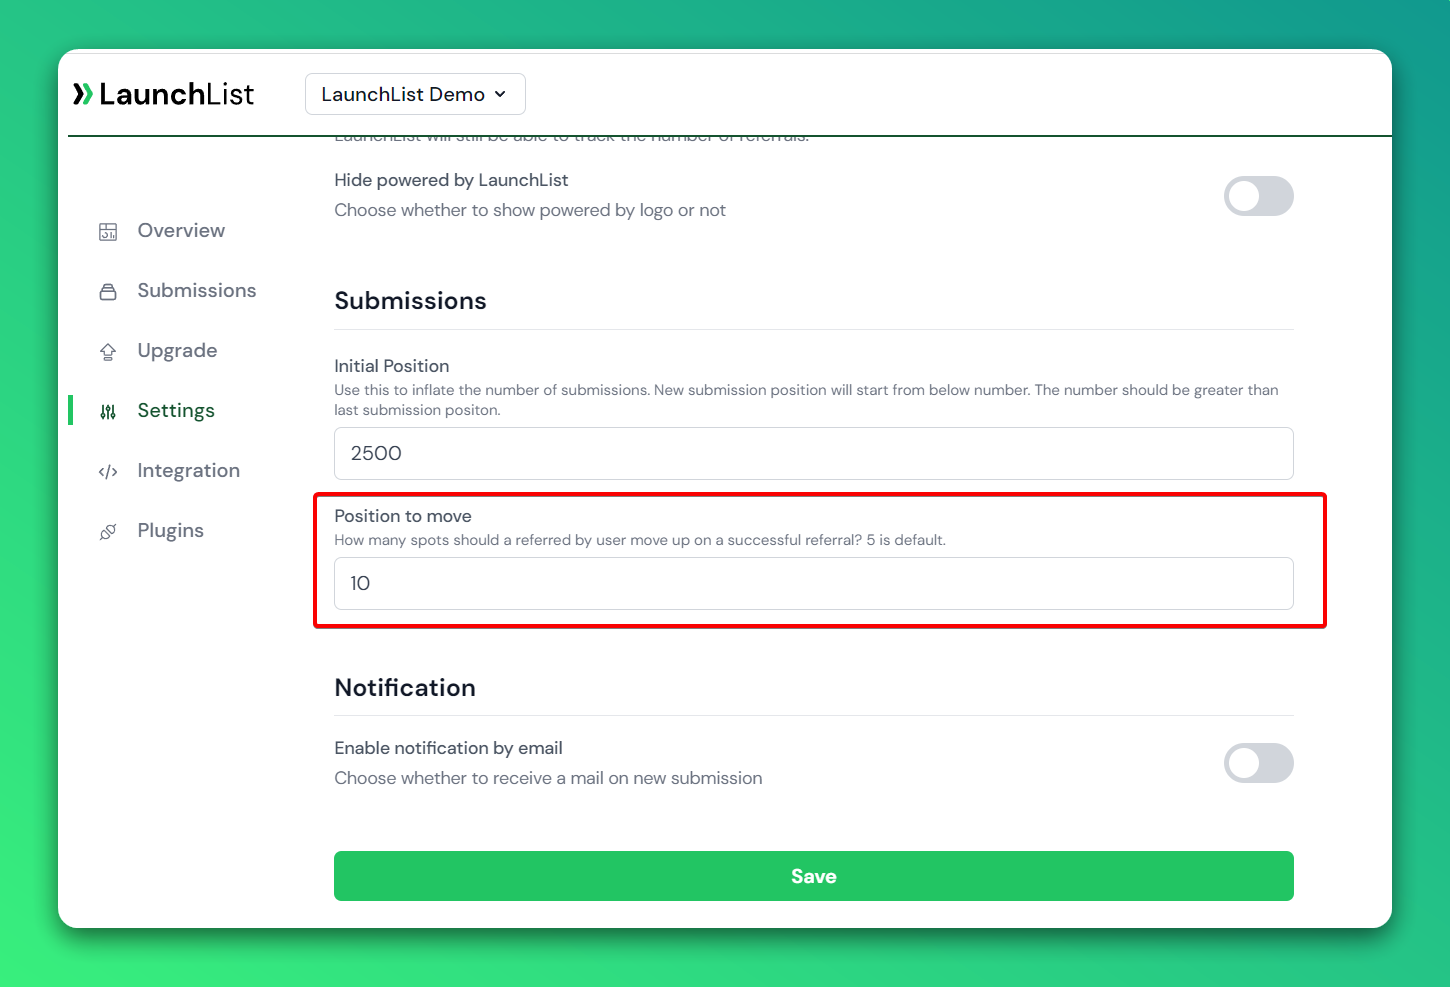
No one likes an empty waitlist. Now, easily modify the initial position from your waitlist settings. The new submission position will start from the below number. The number should be greater than the last submission position.
.png)